Cedar hedges, if you want them to grow lush and healthy, need to be fed on a regular basis. Apply an organic tree and shrub nutrient with a nutrient phosphorus and potassium (NPK) ratio of 18-8-8 to your cedar hedge throughout early spring. Fertiliser dry soil might burn the hedge's roots, so make sure to give the plant enough of water.
Cedar hedge fertilisation is best done in early spring, when new growth is occuring. Put a water-soluble fertiliser with a ratio of 30-10-10 on the soil along the hedge. Soon after applying fertiliser to the hedge, water it. Water the soil thoroughly until the fertiliser particles disappear from view.
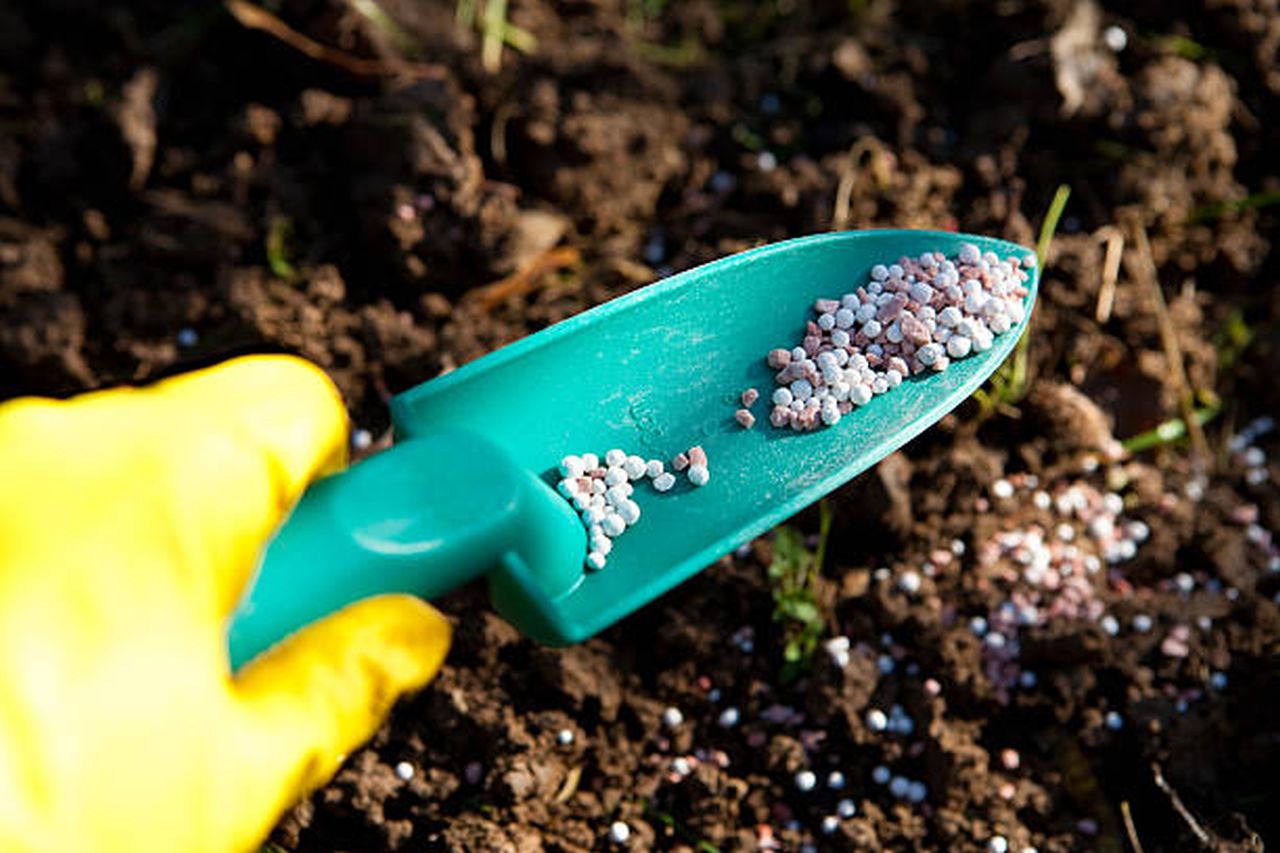
Fertiliser Granules Choose a complete fertiliser, such as 10-8-6, and apply it in the spring before new shoots begins for well-established cedars. Fertiliser application should be at a rate of 2 pounds per inch of stem diameter, as measured at the waist.
To the same effect, how often do cedar trees need fertiliser? Fertilising your cedars: After you are done erecting your hedge, you can encourage root growth by sprinkling the tops of the plants with cedar fertiliser. Cedars require annual fertilisation, so begin applying the mix after the first year.
Cedar Tree Fertiliser
Choose the correct fertiliser to cedar trees if you want to see these giants thrive. Real cedars are beautiful trees. Cedar ( Cedrus libani ) is a slow-growing conifer that can reach a height of up to 100 feet. It has evergreen leaves, strong silhouettes, and a massive final product. Because of their massive girth and long taproots, cedar trees are best suited for open spaces like parks and expansive backyards. Cedars don't require much in the way of upkeep, although they do respond well to periodic doses of fertiliser.
Understanding Cedar Varieties
Understanding the variations between fertilisers is essential before picking one for the cedar trees on our property. In the garden, there are three authentic cedars.
Short, silvery-blue needles characterise the atlas cedar ( Cedrus atlantica ), a conifer that flourishes in USDA hardiness zones 6 through 9. The Cedar of Beirut is hardy from USDA hardiness zone 6 through 9 as well. Pyramidal in form, the Deodar cedar ( Cedrus deodara ) may be grown in USDA plant hardiness zones 7 through 9.
Also, in USDA plants hardiness zone 2 through 9, you can find the Eastern red cedar, or Juniperus virginiana, which isn't actually a cedar at all. The Eastern red cedar is indeed a slow-growing tree that can reach a height of 50 feet and is endemic to the United States.
With their extensive root systems, true cedars or Eastern red cedars are able to efficiently extract the nutrients they require from the soil in which they are grown. Horticulturists frequently advise against fertilising them until growth is subpar, as they perform well on their own. Fertilising any type of cedar tree requires a certain fertiliser formula and amount of time to see results.
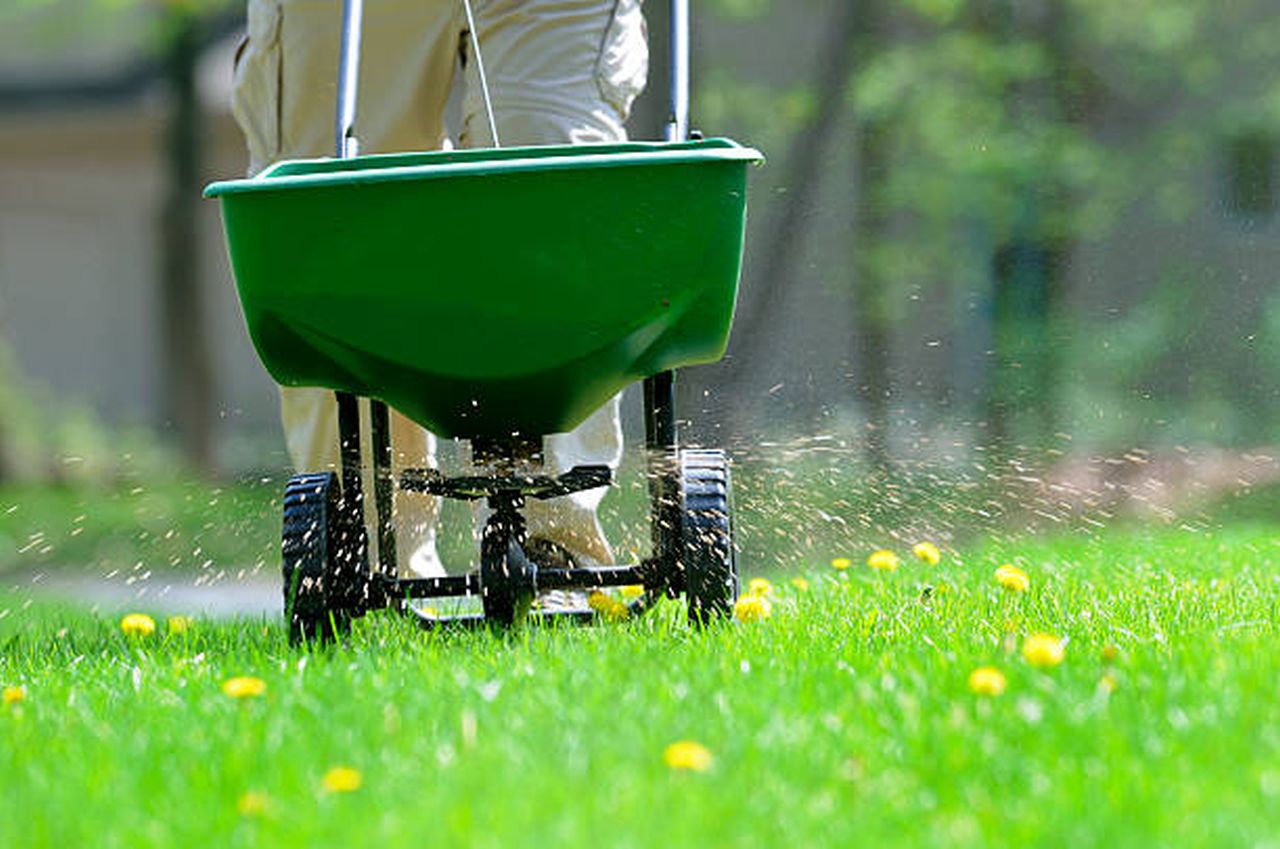
Granular Fertiliser Application
Before deciding on a particular fertiliser formula for your cedar tree, it is recommended that you conduct a soil test. By conducting a soil test, you can identify the deficiency in nutrients in your soil. Decide on a full fertiliser and give it to your existing cedars in the spring before new shoots appears.
Fertiliser application should be at a rate of 2 pounds per inch in trunk diameter, as measured at the waist. Distribute the granules across the soil's surface all the way around the tree, making sure to go past the drip line. Be sure to give it plenty of water.
Making Use Of Tree Spikes
Evergreen tree fertiliser spikes, which release their nutrients slowly, are another option for feeding your cedar. Spread them out in a circle all around tree's drainpipe, utilising two spikes for a trunk diameter of 1 to 2 inches and an additional spike for every inch beyond that. Ensure that the spike is at least 2 inches underneath the ground before you start driving it in. Use them twice a year in the spring and fall and always at a distance of a minimum of 30 inches from the base of the tree.
Guidelines for Cedar Fertilisation
Cedar trees don't need fertiliser every year; if they're healthy, you might not need to apply it again for another two or three years. Find out what your cedar tree is trying to tell you. Fertilising is probably unnecessary if the tree grows usually and also has foliage as well as colour typical for it's own species and size. Fertilise trees if they are growing slowly, have few leaves, an unusual hue, or have needles that are too short.
Stress from dehydration is different from that caused by a lack of fertiliser. Fertilising cedars that are already struggling from the heat would only make things worse, but true cedars only need deep watering on occasion during the summer. However, cedars should be fertilised regularly if you just want higher growth on trees, if seedlings are going to grow in poor soils, or if they need to fix the mess they've sustained.
Types Of Soils
The soil type your cedar tree is planted in will determine the best fertiliser to use. Soil with a lower pH is not ideal for many cedars. A pH test kit should be used to determine the acidity of the soil before fertilising. Many garden centres and tree nurseries sell pH test kits for your convenience.
- The cedar tree or shrub is exceptionally hardy, and it can often thrive even when not fertilised.
- Which fertiliser is best for your cedar would be determined by the soil it is planted in.
Fertiliser Types
A high phosphate fertiliser is helpful for young cedar trees. Transplant shock can be mitigated by thoroughly watering the freshly planted tree and adding fertiliser with such a nutrient ratio of 5-15-5.
Fertilisers with a nutrient ratio of 30-10-10 or a higher nitrogen content should be used for subsequent applications. The combination of blood feeding and bone meal makes an excellent organic alternative fertiliser.
Benefits
You may assist your cedar get established in its new site by fertilising its roots with extra phosphorus at planting time. After the tree or shrub has been established, increasing the nitrogen level will cause more green growth to occur. Fertilising with organic matter at whatever stage will be easier on the tree and soil and will have long-lasting benefits.
- A high phosphate fertiliser is helpful for young cedar trees.
- To safeguard soil conditions over the tree's lifetime, use natural manure at either moment for more mild fertilisation.
Considerations
Yellowing leaves are a sign of under-fertilisation, therefore you may wish to check the nitrogen levels in the tree's needles if you suspect this is the case. For example, soil that is too alkaline may look to be an fertilisation issue. If your foliage have enough nitrogen levels, then the yellowing must be due to something else.
When Should You Fertilise?
Fertilise the tree either when you first plant it and in the spring once new growth has appeared. Although cedar trees may look fine during the winter, they are typically resting and not actively growing. Too much fertiliser inside the soil after a winter fertilisation could harm plants in the spring. Fertilising should be halted in the fall, when trees begin to shed their leaves.
- Yellowing leaves are a sign of under-fertilisation, therefore you may wish to check the nitrogen levels in the tree's needles if you suspect this is the case.
- Over-fertilisation of the soil in the spring is possible if nutrients are added in the winter and remain in the ground until the following growing season.
Frequently Asked Questions About Cedars
Arborists in Australia may earn $61,369 per year (or $26.74 per hour) as per Payscale Australia. An entry-level Arborist with less than 1-year experience can expect to earn an average total compensation of AU$23.44/hour.
Pollarding is a method of pruning that keeps trees and shrubs smaller than they would naturally grow. It is normally started once a tree or shrub reaches a certain height, and annual pollarding will restrict the plant to that height.
Can you become a millionaire tree surgeon? No, an individual tree surgeon will always be limited by the amount of work they can produce per day which wont make a million, not for a few decades anyway. Average salaries are around 25-35k per year.
We offer an intensive 4 Week Tree Surgeon training programme for those looking to fast track starting a career as an Arborist. This programme is organised to develop skills and efficiently progress through each discipline, achieving multiple Awards over a 4 week period.
hard, physical work at the basic level. chainsaws are dangerous, climbing trees is dangerous, climbing tress with chainsaws clearing up is the big job. best bet is to try and get some work alongside a few tree surgeons, and see what they do and how they work.
Cedar Planting Instructions
Arborvitae
In the Pacific Northwest, cedars are used most frequently for hedging purposes. You can see hundreds, though not thousands, of such hardy, flexible, evergreen conifers just by taking a drive around a normal neighbourhood. Their capacity to quickly and cheaply grow into a dense, aesthetically pleasing green wall, hedge, or screen contributes to their widespread appeal.
Cedar Varieties (Arborvitae)
There seem to be hundreds of different cedar species and types, but only three are commercially grown and sold as hedges. You can see Smaragd Cedars, Pyramidalis Cedars, and Excelsa Cedars here.
Emerald Cedars/Smaragd Cedars
The 'Smaragd' and 'Emerald' varieties of Thuja occidentalis
Commonly used as a hedge, this perennial conifer is by far the most widely accessible type.
The name comes from the Danish word for "Emerald," "Smaragd," which explains why this gem goes by two names.
Similar meanings are conveyed by both names, which are written in two distinct alphabets. The Smaragd cedar grows straight and tall, although its columnar shape is narrow. In terms of foliage, think of delicate, emerald green, scale-like leaves that are held as horizontal sprays.
This plant's appeal lies in the fact that it maintains its lush green colour throughout the year. Sometimes the winter weather causes some types of cedar to lose colour or even turn a little brown, but they always bounce back in the spring. It has furrowed, reddish-brown bark and small urn-shaped cones that turn brown in the fall.
The best hedges are made of Smaragd cedars. Plant them with a distance of 24–36 inches between their trunks for the greatest results. While it's true that you may get inexpensive cedars, we suggest you avoid the even more affordable 'pot dug' varieties.
Pyramidalis Cedars
Pyramidal Thuja occidentalis
When it comes to cedars used for hedging, pyramidalis is a close second. It's very similar to the word "Smaragd," and only a trained eye would be able to tell the difference.
Winter is the revealing season. Compared to other plants, pyramidalis can withstand colder temperatures and stronger winds better. During the winter, it will also change to a darker shade of green.
Pyramidalis is easily maintained because it develops similarly to the 'Smaragd' and has a similar shape.
Pyramidalis is also known as Brandon, another common name for this product. These new plants are so similar that they can be used interchangeably in most situations.
Excelsa Cedar
This is a "Excelsa" Thuja plicata.
If you're searching for a tall, wide hedge or a nice natural evergreen screen, go no farther than the 'Excelsa,' a cousin of the original western red cedars. 'Excelsa' grows into a tall, broad shrub with widely separated branches. 'Smargd' is more dense and bushy, but a well-pruned 'Smargd' will still produce a solid green wall.
The fast-growing, scale-like leaves of an Excelsa cedar are a rich, glossy green and provide a pleasant scent when crushed or damaged. During the colder months, it is understood to take on a bronze-green hue.
You can shear and prune it without worrying about any damage. Give each plant more room than you would if you were constructing a hedge out of 'Smaragd' or 'Pyramidalis,' for example. While a distance of 3-4 feet (metres) between trunks is preferable, a faster-growing hedge can be achieved by planting closer together.
Light / Exposure:
The full sun is ideal for all cedars. This would have been a spot where you can bask in the sun's rays for at least six to eight hours every day.
Soil / Moisture:
Cedar trees thrive on soil that is somewhat acidic, organically rich, and well-drained. They are not fond of either sandy soils that are too dry or heavy clay ones that are too wet. These plants need infrequent, but substantial, watering ( especially during the summer or for new plantings).
Each year, add a new layer of mulch for optimal results. This minimises the probability of weeds and moderates root temperature. Maintain a distance of three to four inches between the mulch and the tree bases.
Fertiliser
Add a little bone meal to each planting hole in your new garden. Fertilizer for plants to be planted is also helpful. After the first year, use Arts GardenPro Evergreen fertiliser in the spring to nourish your cedar hedging. Since you want to promote both leafy expansion and deep root formation, a complete fertiliser will do the trick. Stop fertilising after the month of August.
Pruning Cedars
Lighter, more regular pruning is best for cedars and other conifers. Pruning only the fresh green growth a couple of times a year will produce a dense green hedge.
Keep in mind that cedars rarely regenerate from old brown wood, so severe pruning could be disastrous. The best case scenario for a mistreated plant is for neighbouring plants to grow in and hide the damage. It may be more expedient to plant young cedars if you need to see results quickly rather than wait for the older ones to recover after a severe pruning.
Always prune so that the green parts of the plant remain green and the brown parts turn brown. As a result, trim your hedge so that its highest point is somewhat smaller than its lowest. This will make sure that as much space as possible is illuminated by the sun.
Growing A Cedar Hedge
If you want to use cedars as both a hedge, give them some room to grow—about 2 to 3 feet between each tree (from the trunks). For 'Excelsa,' expand your normal plant spacing by one foot. Prepare planting holes. It's important to dig a hole that's at least twice as wide as the root balls with the same depth, if not a little shallower. It could be more efficient to dig a trench rather than a number of individual planting holes if you are planting in bulk.
To ensure proper drainage, fill the holes without water. Assuming excellent drainage, the liquid should dry off rapidly. A drainage issue may exist if it does not. If that's the case, you can either work on the soil or try growing your plants on a mound.
Use bonemeal to fix the planting holes, then set the cedars where they go. Remove any strings or wires, but save the burlap sacking (if present). Fill the voids with earth again.
Press down and wet it heavily and thoroughly. Using a yard hose over 30-60 seconds each plant is the finest visual representation of "thoroughly."
Determine the spot for your hedge, keeping in mind that a well-cared-for hedge will require a space of between 2 to 4 feet (width-wise). Plant a hedge at least two feet away from any walls, fences, or other boundaries.
It's important to remember that cedars require a lot of sunshine in order to develop a strong, sturdy trunk. In order to ensure adequate sunlight reaches the new cedars, it is recommended that any large trees through which the cedar will grow be pruned.
- The first step is to lay down a vertical line from one end of the hedge to the other. A garden shed can be used to create the necessary curve in the hedge.
- PROCEDURE: Make a trench all along specified line, about 1.5 ft broad and 1 ft deep. After lightly dusting the trench with Cedar Hedge fertiliser, fill it about three inches with high-quality triple mixed (containing lots of peat moss and compost). Use this calculator to determine the amount of triple mix required.
- Step Three: You are now prepared to visit the Cedars. Planting the proper variety of Cedars is essential. Growing a White Cedar (Thuja occidentalis), a native tree to the region, is a popular option for hedging in the Central United States. These cedars can be purchased in bulk from garden centres and tree farms in your area for about $2 per foot in height. For this reason, a 5-foot-tall cedar would cost you $10. Cedars should be spaced between 1 and 1.5 feet apart, depending on their density (rootball to rootball).
- Fourth, once you've placed each cedar in the trench at a distance of one to one and a half feet, it's time to fill in the trench. We suggest mixing one-third of the peat moss and one-third of the compost with the soil you dug out of the trench. And that's it!
The Preservation
The new hedge must be watered every day for two to four weeks. Use a soaker pump and leave it on for two hours each evening to accomplish this quickly and easily. If you want your hedge to look its best, avoid watering it during middle of the day, because when the sun will evaporate most of it.
You should give your hedge a little trim after planting to help it take shape. Taking a pair of shears to the top of the hedge can encourage new growth and allow it to reach greater heights. In order to get the best results from your hedge trimming, it is best to have a professional service do the work for you.
Hedge trimming should thereafter be done annually at roughly the same time.